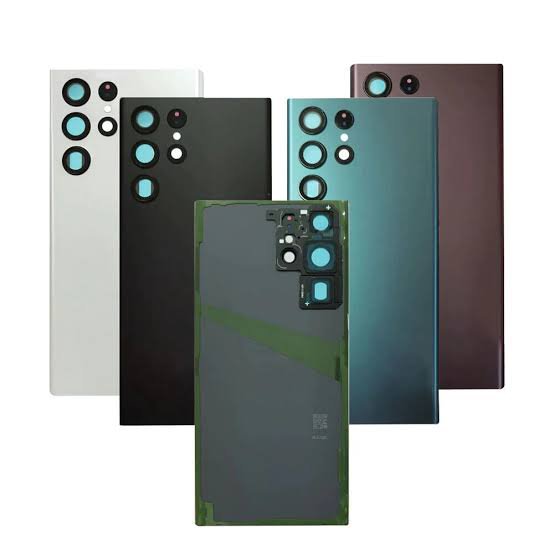

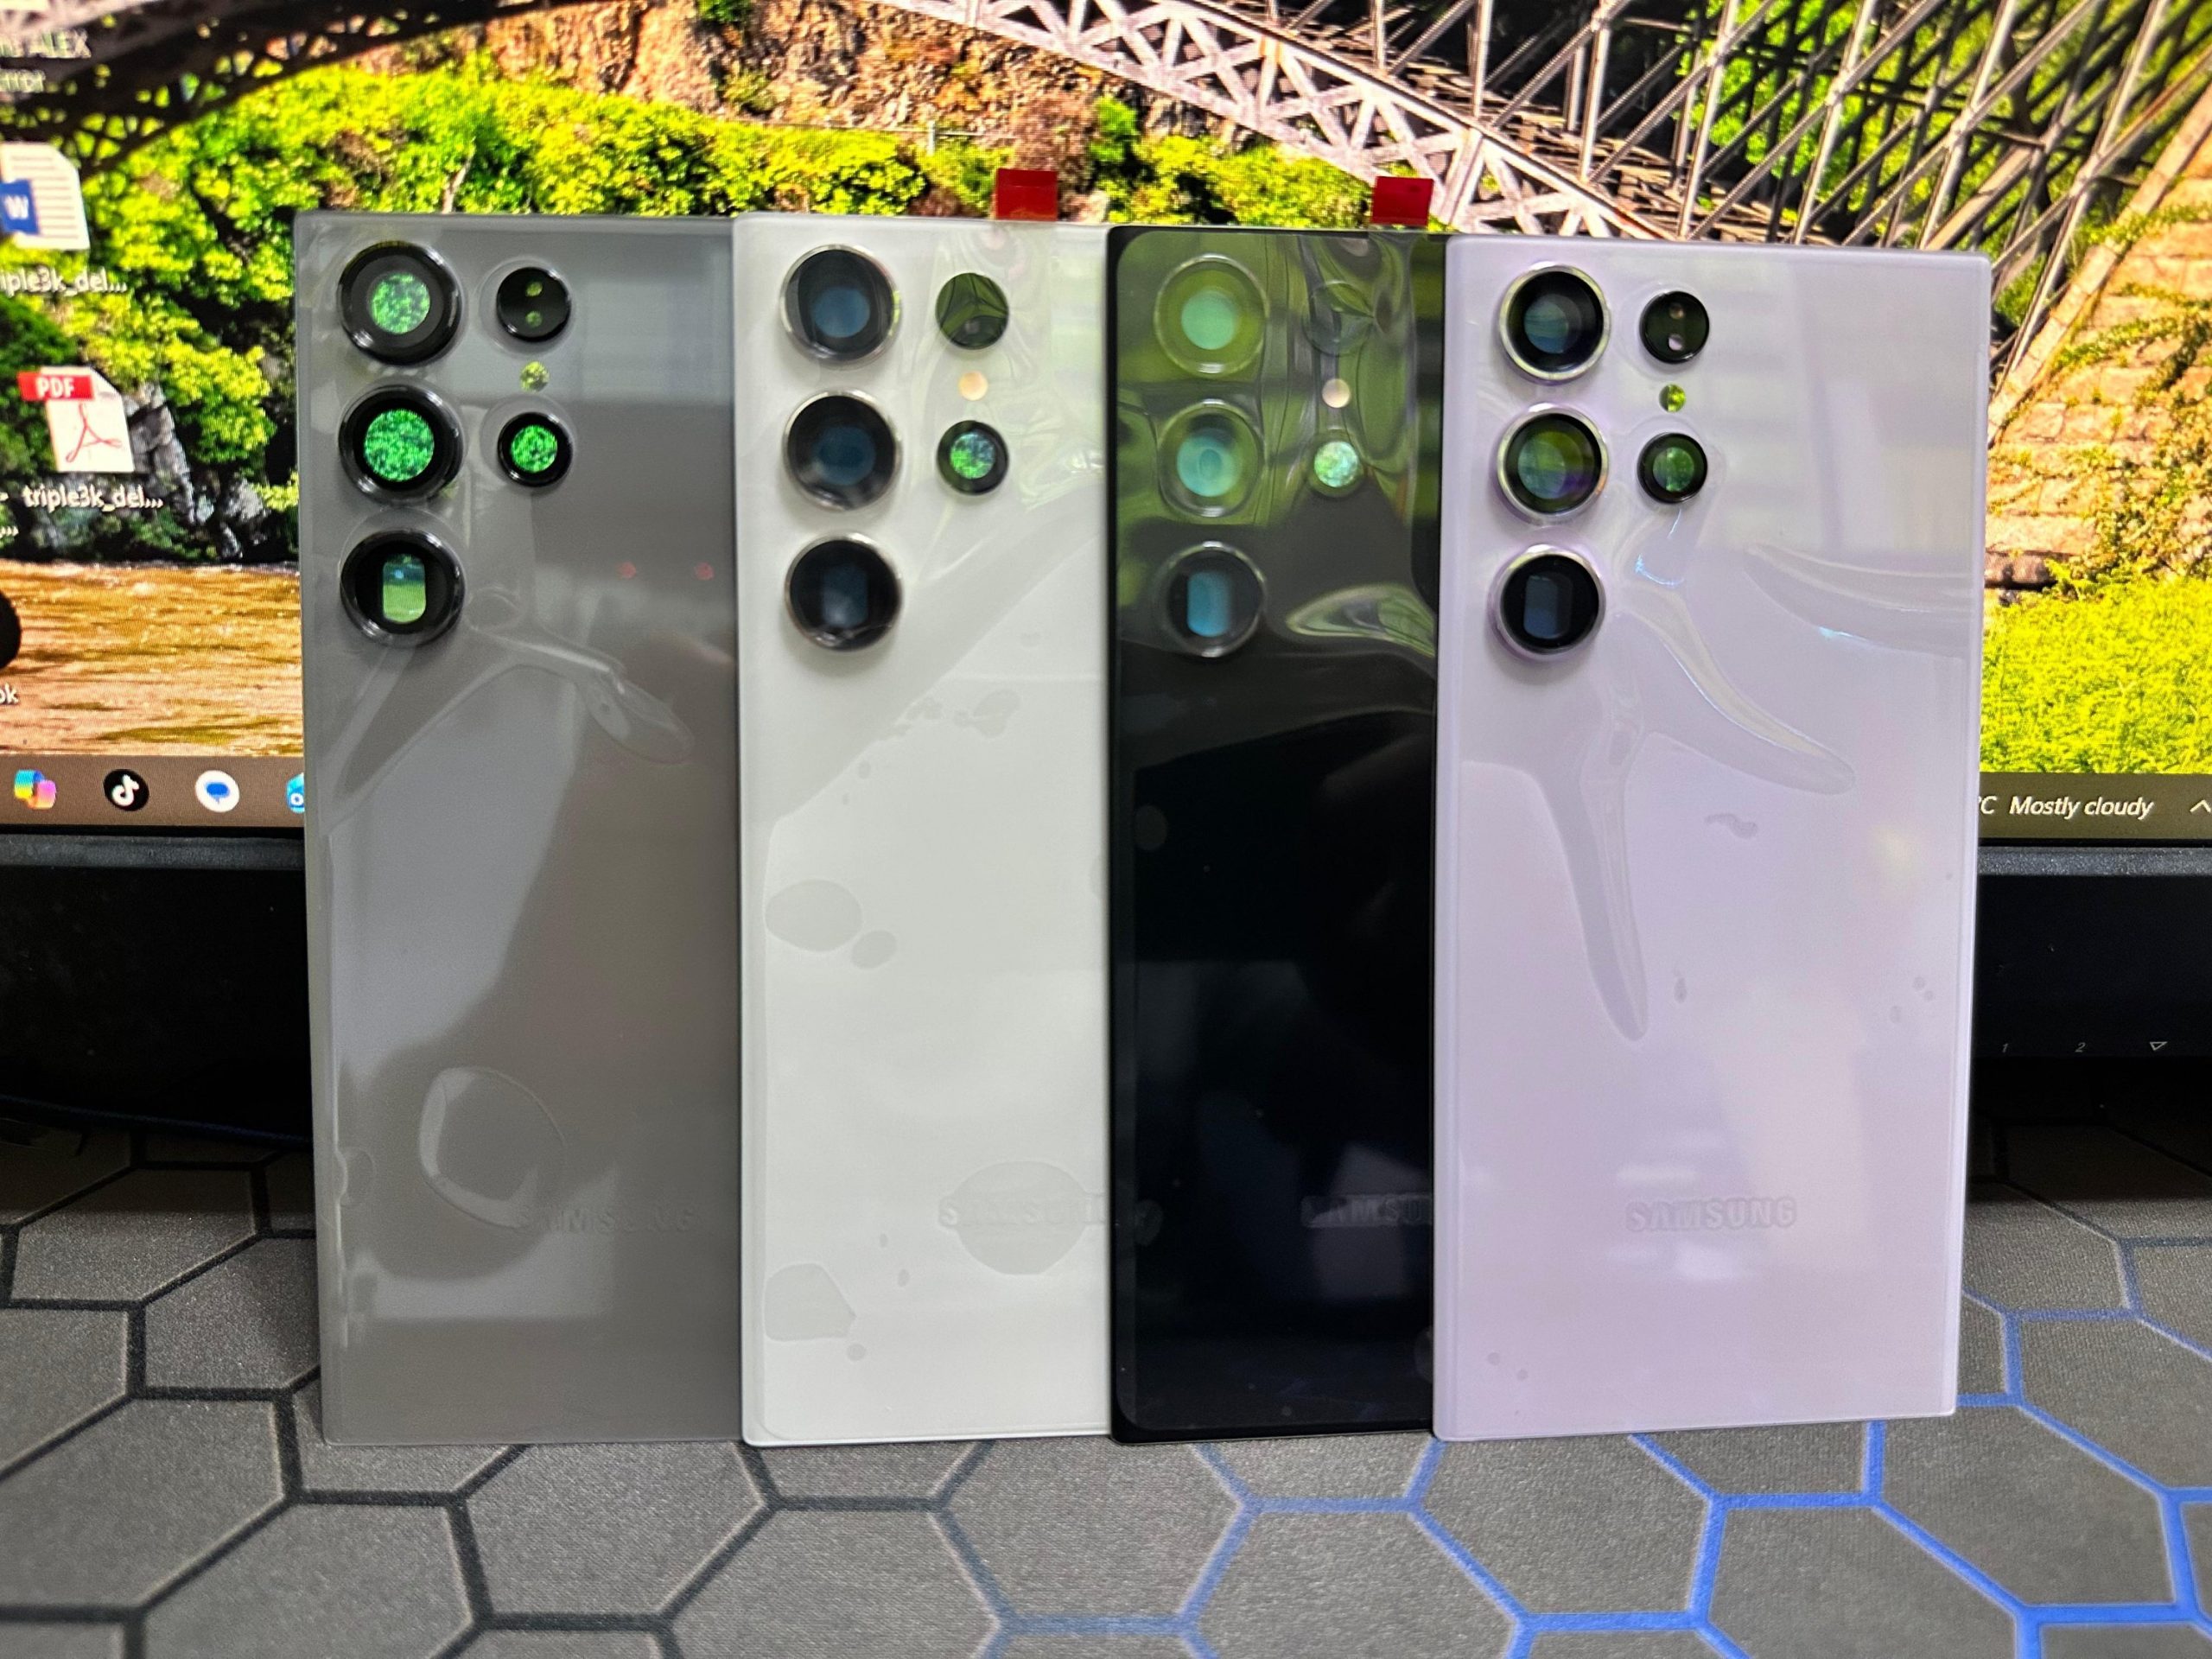
### Samsung Galaxy S22 Ultra Backlid Replacement
Replacing the back lid of the Samsung Galaxy S22 Ultra can be necessary due to damage or cosmetic wear. Here’s a comprehensive guide on the process and considerations involved.
#### Reasons for Replacement
1. **Cracked or Broken Glass**: Drops or impacts can lead to cracks.
2. **Water Damage**: Moisture exposure may compromise the back cover.
3. **Aesthetic Reasons**: Scratches or discoloration over time can prompt replacement.
#### Tools Required
– **Pentalobe Screwdriver**: For removing screws.
– **Plastic Pry Tools**: To open the device without damaging internal components.
– **Suction Cup**: Useful for lifting the back cover.
– **Heat Gun or Hair Dryer**: To soften the adhesive holding the back lid.
– **Tweezers**: For handling small components and screws.
– **Replacement Back Lid**: Ensure it is specifically for the Samsung Galaxy S22 Ultra.
#### Steps for Replacement
1. **Power Off the Device**: Ensure the phone is turned off before starting the repair.
2. **Heat the Edges**:
– Use a heat gun or hair dryer to warm the edges of the back lid. This softens the adhesive, making it easier to remove.
3. **Remove Screws**: If there are any screws near the charging port or edges, remove them with the pentalobe screwdriver.
4. **Open the Device**:
– Attach a suction cup to the back lid and gently pull while using a plastic pry tool to separate the adhesive.
– Work your way around the edges carefully to avoid damaging internal components.
5. **Disconnect Battery**: Once the back lid is removed, disconnect the battery to prevent any electrical issues.
6. **Remove Old Back Lid**: Carefully detach the old back lid, ensuring no glass shards are left inside.
7. **Install New Back Lid**:
– Align the new back lid correctly with the device.
– Press it down firmly to ensure proper adhesion.
8. **Reconnect Battery**: Reconnect the battery after the new lid is in place.
9. **Reassemble the Device**: Replace any screws you removed and ensure everything is secure.
10. **Power On**: Turn on the device to check functionality.
#### Considerations
– **Warranty**: Opening the device can void the warranty. Check your warranty status before attempting repairs.
– **Professional Help**: If you are not comfortable with DIY repairs, it’s advisable to seek assistance from a professional repair service.
#### Conclusion
Replacing the back lid of a Samsung Galaxy S22 Ultra is a manageable task for those with some technical skills. However, caution is essential to avoid damage to the device. If you’re unsure about the process, consider professional repair services to ensure the best outcome.
Reviews
There are no reviews yet.